Main internal defects affecting weld quality

Analyzing lack of fusion as a critical defect that compromises the quality of welds.
Share on social networks
Main internal defects affecting welding quality

Table of Contents

Introduction

In the welding world, the integrity of metallic joints is crucial to ensure the safety and durability of structures. However, despite advances in techniques and technologies, internal defects remain a constant concern, as they can compromise the quality of welds, and consequently, the reliability of constructions.

These welding defects such as lack of fusion, lack of penetration, and porosity formation among others, are particularly problematic, as they go unnoticed in surface inspections, manifesting themselves only when it is too late.

This article explores in detail the main internal defects that affect weld quality, analyzing their causes, consequences, and prevention methods, with the objective of providing an understanding that allows improving welding practices and ensuring maximum quality in metallic joints.

It may interest you
Essential tools for weld inspection: Ensuring accuracy and structural integrity
How MIG welding revolutionizes manufacturing processes

Main internal defects affecting welding quality

The quality of a weld is not only evaluated by its surface appearance but also by the integrity of its internal structure. Internal defects are imperfections that, although invisible to the naked eye, can significantly weaken the metal joint and jeopardize the functionality and safety of the welded structure. These defects can arise for a variety of reasons, such as improper welding techniques, mismatched parameters, or contaminated materials.

The following is a detailed description of the main internal defects that can compromise weld quality.

Lack of fusion

It is one of the most common internal defects in welding. It occurs when the filler material does not fuse properly with the base metal or between weld passes, as shown in Figure 1, resulting in a weak or incomplete joint. This defect is common in welding processes involving metals of high thermal conductivity, such as aluminum, or when an improper welding technique is used.

Causes: Failure to fuse can be caused by several factors, including excessive feed rate, low current intensity, inadequate electrode diameter primarily the root pass, lack of control over electrode movement, or incorrect electrode angle. It can also occur due to the presence of oxides or other impurities on the base metal surface that prevent proper fusion.

Prevention: To avoid lack of fusion, it is essential to perform proper surface preparation, selecting the appropriate welding parameters and using techniques that ensure complete penetration and fusion of the base metal and filler material.

1 IMG 1 ING Principales defectos internos que afectan la calidad de la soldadura
Figure 1. Graphical representation of fusion faults.

Lack of penetration

This is another significant internal defect, characterized by the inability of the filler metal to reach the root of the joint, resulting in an incomplete joint. This weld defect may go unnoticed on the surface, but internally, it creates a zone of weakness that compromises structural integrity.

Causes: Common causes of lack of penetration include improper joint configuration, insufficient thermal energy during the welding process, and poor welding technique. Lack of penetration can also result from poor electrode or welding wire selection.

Prevention: Proper joint preparation, along with proper selection of welding parameters, is essential to ensure complete penetration. Visual inspection during the process and the use of welding techniques such as submerged arc welding can minimize the occurrence of this defect.

Slag inclusions

These are non-metallic particles trapped within the solder. These inclusions usually result from the inability of the slag to float to the surface of the weld puddle and be removed before the weld solidifies.

Causes: This defect can arise due to improper cleaning between weld passes, low slag fluidity, or improper welding technique that does not allow the slag to rise to the surface.

Prevention: To prevent slag inclusions, it is important to properly clean the slag between each weld pass, use a proper flux that facilitates slag flotation, and apply the correct technique that allows complete slag ejection.

Porosity

It is the presence of cavities or gas bubbles trapped inside the weld metal, which weakens the weld structure. This weld defect occurs when gases fail to escape from the weld puddle before it solidifies.

Causes: Porosity can be caused by a number of factors, including moisture in the base metal, shielding gas contamination, air from the atmosphere, or a welding technique that generates excessive smoke or gas. In addition, poor surface preparation or the presence of contaminants such as rust or oil can also contribute to pore formation.

Prevention: To prevent porosity, it is essential to ensure cleanliness of the base metal and use a high purity shielding gas, protect the weld from drafts when applying the filler material. In addition, adjusting welding parameters to reduce outgassing during the process can help minimize porosity.

Cracks or crevices

It is one of the most dangerous defects, as it can propagate and cause catastrophic failure of the welded joint. This defect can result from residual stresses, poor material selection, or improper welding technique.

Causes: Causes of cracking include high-stress concentration in the weld, shrinkage during cooling, and the presence of impurities or incompatible materials. In addition, poor cooling technique or exposure of the weld to sudden temperature changes can induce cracks.

Prevention: To prevent cracking, it is crucial to control the cooling rate, select compatible filler materials, and apply a welding technique that minimizes stress concentration. In addition, the implementation of post-weld heat treatments (PWHT) can reduce residual stresses and prevent cracking.

Hydrogen cracking

It is one of the most dangerous defects, as it can propagate and cause catastrophic failure of the welded joint. This defect can result from residual stresses, poor material selection, or improper welding technique.

Causes: Causes of cracking include high-stress concentration in the weld, shrinkage during cooling, and the presence of impurities or incompatible materials. In addition, poor cooling technique or exposure of the weld to sudden temperature changes can induce cracks.

Prevention: To prevent cracking, it is crucial to control the cooling rate, select compatible filler materials, and apply a welding technique that minimizes stress concentration. In addition, the implementation of post weld heat treatments (PWHT) can reduce residual stresses and prevent cracking.

Heat affected zone (HAZ)

The heat affected zone (HAZ) is the region adjacent to the weld that has undergone microstructural changes due to exposure to heat during the welding process. These changes can adversely impact the mechanical properties of the material, such as its hardness and ductility.

The width of the HAZ depends on several factors, such as the thermal diffusion of each material, the amount of heat input, heat exposure time, cooling rate, welding technique (TIG, MIG or SMAW) and material thickness.

Causes: HAZ is unavoidable in any welding process, but its impact can be exacerbated by improper temperature control, selection of inappropriate materials, or a welding technique that generates excessive heat input.

Prevention: To minimize the negative effects of HAZ, it is essential to control the temperature during welding, use materials that are compatible with the process, and apply techniques that reduce the amount of heat input. In addition, the use of post-weld heat treatments (PWHT) helps to normalize the original material properties in the HAZ, mainly in high carbon and low alloy carbon steels.

1 IMG 2 ING Principales defectos internos que afectan la calidad de la soldadura
Figure 2. Graphical representation of the HAZ location of the weld.

Quality control of welds

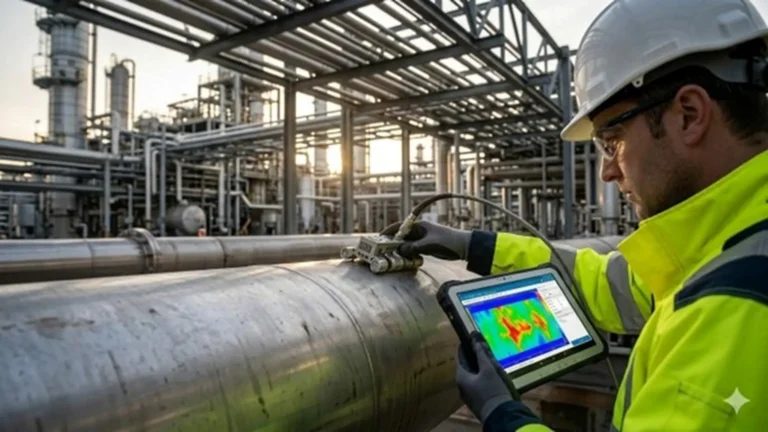
To ensure the quality and safety of welds, non-destructive testing (NDT) is the most appropriate way to detect internal flaws without compromising the integrity of the part. Among the most commonly used methods to locate and determine the shape of internal discontinuities are industrial radiography and ultrasound. These create detailed images of the inside of welds, revealing possible porosities, cracks, metallic and non-metallic inclusions, lack of fusion or incomplete penetration. Another NDT method that should be permanent during the welding process is the visual inspection, since it allows controlling the correct application of the welding process and that the parameters established in the welding procedure (WPS) are fulfilled.

Conclusion

The quality of a weld depends not only on the welder’s skill, but also on the correct selection of welding parameters, type of material, and proper inspection processes. Welding defects on the internal side, such as lack of fusion, lack of penetration, slag inclusions, porosity, cracks, can compromise the integrity of the welded joint and, consequently, the safety of the structure. Therefore, it is vital to adopt rigorous welding practices, along with advanced inspection methods, to ensure that these defects are identified and corrected.

References

  1. https://compraco.com.br/es/blogs/industria/compreendendo-a-fusao-de-solda-e-as-zonas-afetadas-pelo-calor?srsltid=AfmBOorDgNIkmhKSjr5FJpr25tBLOjEUNuuZXWWiEuHcRuQ048uYZyA3
  2. http://scielo.sld.cu/scielo.php?script=sci_arttext&pid=S2223-48612019000300011
Share this article in your social network
Rate this post
1 star2 stars3 stars4 stars5 stars (1 votes, average: 5.00 de 5)
Post Rating LoaderLoading...