Table of Contents
- Introduction
- What is visual inspection?
- The visual inspection checklist: A key to reliable evaluations
- Stages in visual inspection (NDT)
- Lighting requirements in visual inspection
- Types of visual inspection tests
- Specialized visual inspection methods: Visual inspection with acetic acid
- Innovations in visual inspection
- Benefits and limitations of visual inspection
- Conclusions
- References
Introduction
Visual inspection is a fundamental process in quality control and non-destructive testing (NDT) that involves examining components, equipment, or systems for visible defects without causing damage. Among various NDT methods, it serves as a critical first step in identifying potential issues, ensuring reliability, and maintaining safety in industries like manufacturing, oil and gas, and construction.
This inspection method is indispensable due to its simplicity, cost-effectiveness, and versatility. Beyond its traditional use, modern advancements in artificial intelligence (AI) and deep learning are transforming visual inspection. These technologies enable automated detection of defects, reducing human error and improving accuracy in high-demand environments.
This article delves into the definition of visual inspection, its importance, and how it is used across industries. It further explores the techniques involved, stages of the process, lighting requirements, inspection tools, and emerging innovations, providing a comprehensive understanding of this essential NDT method.
What is visual inspection?
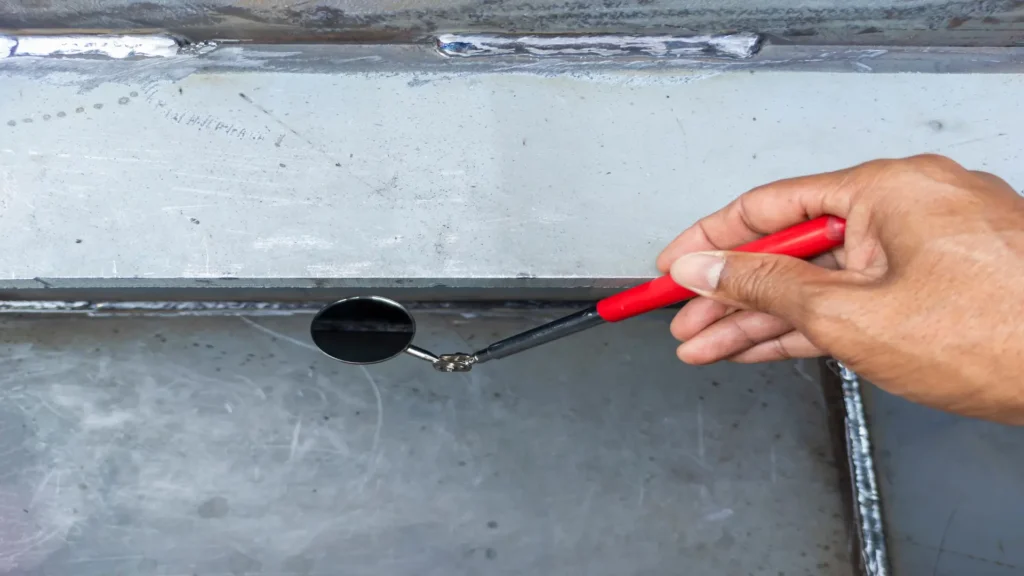
Visual inspection is a non-invasive method used to evaluate the surface condition of materials, components, or systems. It relies on the human eye, sometimes aided by tools like magnifying glasses, cameras, or borescopes, to detect visible anomalies such as cracks, corrosion, wear, or misalignments. As one of the simplest NDT methods, it is commonly employed in industries where safety and reliability are paramount.

Visual inspection meaning extends beyond just looking; it involves a systematic approach to identify defects, ensuring that components meet specified standards. Industries such as aerospace, automotive, and oil and gas depend heavily on this method to assess equipment integrity.
In the realm of non-destructive testing (NDT), visual inspection is considered the first line of defense. Among other NDT methods, tt provides a baseline assessment before more complex techniques like ultrasonic or radiographic testing. Its accessibility makes it ideal for regular maintenance and early problem detection, saving time and costs.
By combining traditional techniques with innovations like AI-based defect detection, visual inspection continues to evolve, becoming an even more critical tool in modern industrial applications.
The visual inspection checklist: A key to reliable evaluations
A visual inspection checklist is an essential tool for ensuring consistent, accurate, and safe inspection results. This structured document acts as a guide for inspectors, ensuring that no critical step is overlooked while maintaining compliance with safety and quality standards.
Importance of a checklist
- It standardizes the inspection process, reducing human error.
- Ensures proper documentation of findings.
- Promotes safety by reminding inspectors to follow protocols.
- Guarantees adherence to industry specifications and acceptance criteria.
Key components of a visual inspection checklist
- Tools Required: Flashlights, borescopes, mirrors, magnifying glasses, or cameras for varying inspection needs.
- Safety Protocols: Personal protective equipment (PPE) like gloves, helmets, and goggles must be used.
- Pre-inspection Conditions: Ensure proper lighting (500–1000 lux), clean inspection surfaces, and accessible areas.
- Criteria for Acceptance and Rejection: Specify tolerable defect limits, such as allowable scratches, weld porosity, or misalignments.
Example checklist for welded structures
- Inspect for uniformity in the weld bead and absence of cracks.
- Check for undercuts, spatter, or porosity.
- Verify alignment with design specifications.
A well-designed checklist not only enhances efficiency but also ensures that the inspection process meets the highest safety and quality standards in industries such as manufacturing, oil and gas, and construction.
Stages in visual inspection (NDT)
Visual inspection in non-destructive testing (NDT) typically consists of three distinct stages, ensuring a comprehensive evaluation of components or systems:
Pre-inspection (planning and preparation)
This stage involves defining the scope of the inspection, selecting tools, and ensuring optimal conditions for accurate results. For example:
- Verify the cleanliness of surfaces to prevent false defect indications.
- Ensure proper lighting levels (500–1000 lux) and accessibility to the inspection area.
- Confirm tool readiness, such as borescopes for internal checks.
Active inspection (direct evaluation)
During this stage, inspectors evaluate surfaces for defects like cracks, corrosion, or misalignments under specified conditions. Techniques include:
- Direct visual observation using magnifiers.
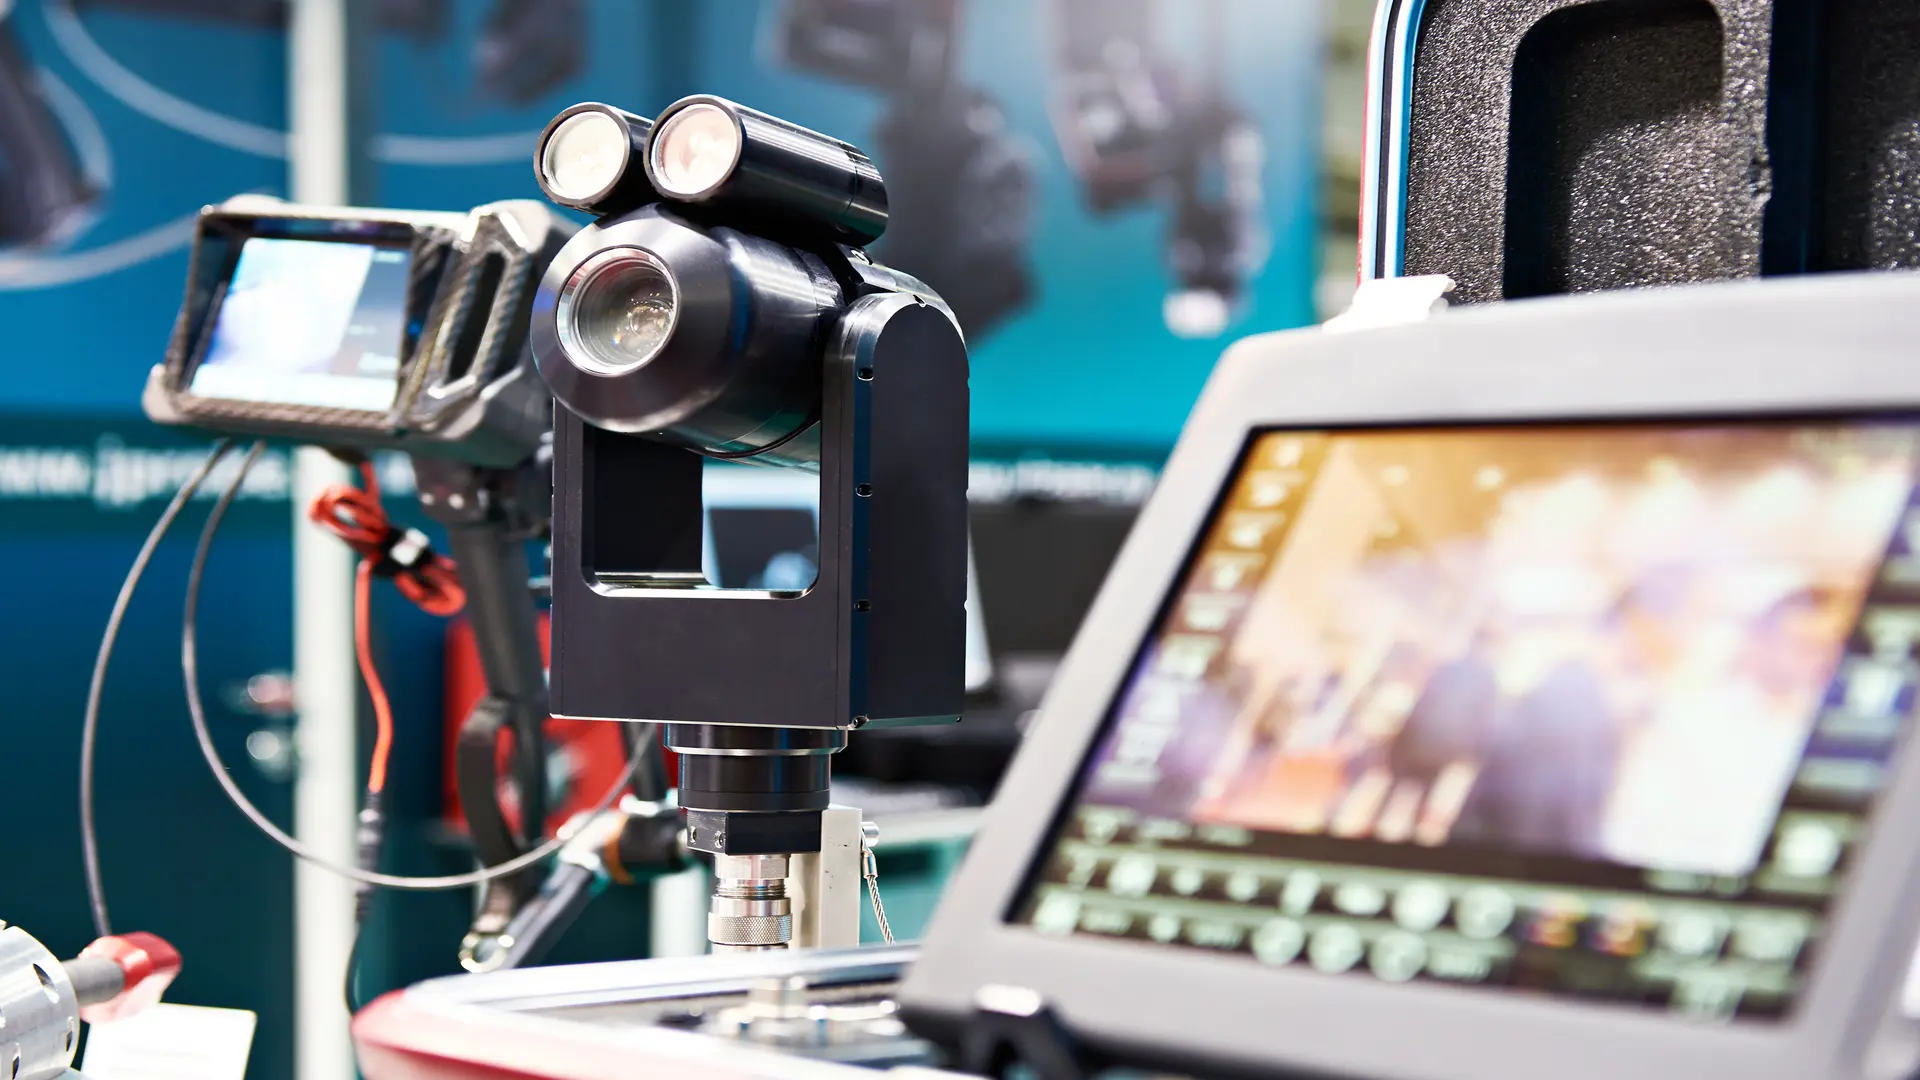
- Indirect inspection via cameras or drones for hard-to-reach areas.
Post-inspection (documentation and reporting)
Findings are documented in detail, including defect location, size, and severity. Reports ensure traceability and provide recommendations for corrective actions or further testing.
Each stage aligns with the goals of other NDT methods, ensuring a robust framework for quality assessment. Pre-inspection ensures readiness, active inspection identifies defects, and post-inspection delivers actionable insights. Together, they form a robust framework for quality assessment in industries like aerospace, construction, and oil and gas.
Lighting requirements in visual inspection
Lighting is a fundamental factor in visual inspection, directly impacting the accuracy and reliability of defect detection. The standard lux level for visual inspection ranges from 500 to 1000 lux, depending on the industry and the complexity of the task.
Key lighting considerations
- 500 lux is sufficient for general inspections of large or accessible surfaces.
- 1000 lux or higher is required for intricate inspections, such as detecting micro-cracks in welded joints or evaluating fine details in electronic components.
Proper lighting ensures that defects are visible without causing strain on the inspector’s eyes. For example, inadequate lighting might obscure hairline cracks, while excessive glare can create false indications.
Tools like light meters are essential for verifying compliance with lighting standards. They measure the intensity of illumination in the inspection area and help maintain consistent conditions.
Among NDT methods, lighting requirements for visual inspection are unique but integral, ensuring defect detection accuracy. Automated systems use LED arrays or laser illumination, further improving results for AI-driven inspections. By adhering to appropriate lighting standards, industries can significantly improve inspection reliability and defect detection accuracy.
Types of visual inspection tests
Visual inspection tests are classified into two main types: direct and indirect, each serving distinct purposes based on accessibility and inspection criteria.
Direct visual inspection
Involves using the naked eye or basic tools like magnifiers to examine readily accessible surfaces. For instance, weld bead evaluation in pipelines is commonly performed through direct inspection.
Indirect visual inspection
Utilizes tools such as cameras, borescopes, or drones to assess hard-to-reach areas. This method is ideal for inspecting the internal structures of turbines, pipelines, or storage tanks.

Specialized visual inspection methods: Visual inspection with acetic acid
Visual inspection with acetic acid, commonly referred to as the “acetic acid test,” is a specialized method used to identify surface defects, particularly in welded joints and corrosion-prone materials. This technique involves applying acetic acid to a surface to enhance the visibility of imperfections, such as micro-cracks or stress corrosion cracking, which may not be detectable through conventional visual inspection.
How it works
Acetic acid reacts with certain materials, creating a contrast that highlights defects. For example, in stainless steel welds, acetic acid can accentuate surface anomalies like intergranular corrosion or weld discontinuities. The application is often followed by rinsing and examining the area under adequate lighting conditions to ensure precision.
Applications
- Weld Integrity checks: Enhances defect visibility in welds subjected to high-stress environments, particularly in the oil and gas industry.
- Corrosion assessment: Identifies early signs of corrosion, especially in components exposed to harsh environments like marine or chemical processing facilities.
Benefits
- Enhances defect visibility, reducing the likelihood of oversight.
- Non-invasive and cost-effective compared to more advanced methods.
Limitations
- Requires careful handling due to the corrosive nature of acetic acid.
- Effective primarily for surface-level anomalies, not subsurface defects.
The choice of test depends on factors like accessibility, defect type, and precision requirements. Direct inspection is cost-effective and quick for surface-level issues, while indirect inspection provides detailed access to confined or hazardous spaces. Together, these methods ensure a flexible and comprehensive approach to quality assessment in NDT.
Innovations in visual inspection
The integration of Artificial Intelligence (AI) and deep learning into visual inspection has revolutionized the field, significantly improving defect detection speed, accuracy, and reliability.
Artificial intelligence in visual inspection
AI-powered systems use machine learning algorithms to automatically detect defects, minimizing human error and increasing efficiency. In industries like aerospace and manufacturing, AI is used to analyze complex surfaces, such as turbine blades or automotive components, for micro-cracks, corrosion, or material inconsistencies.
For example, AI-enabled drones inspect aircraft fuselages, providing detailed, real-time reports while reducing downtime. The following video provides information on this topic. Courtesy of: Mainblades.com.

Automated visual inspections of aircraft fuselages with drones.
Deep learning in visual inspection
Deep learning models excel in identifying patterns and anomalies in vast datasets. These neural networks analyze visual data pixel by pixel, making them highly effective for detecting subtle defects that traditional methods might miss.
A notable case study is the use of deep learning in semiconductor manufacturing, where high-precision inspection of microchips ensures quality control. Another example is deep learning’s role in detecting welding flaws in automated production lines.
Here is a video explaining how deep learning and AI is used in visual inspection. Courtesy of Cognex Industrial Machine Vision.

AI and machine learning for visual inspection of welds.
Future trends
Future innovations will integrate AI with real-time decision-making systems, allowing for predictive maintenance. Autonomous robots equipped with AI will not only identify defects but also recommend corrective actions instantly. Enhanced image recognition and augmented reality will further streamline inspections in industries like construction and oil and gas.
By embracing these advancements, industries can achieve unparalleled precision and efficiency in visual inspection, ensuring long-term reliability and safety.
Benefits and limitations of visual inspection
Benefits
- Cost-effectiveness: Visual inspection is one of the most affordable NDT methods, requiring minimal tools and setup.
- Simplicity: It is easy to implement and does not require extensive technical training.
- Non-invasiveness: No damage is caused to the inspected components, preserving their integrity.
Limitations
- Dependency on human factors: Results can vary based on the inspector’s skill and experience.
- Lighting conditions: Proper illumination is crucial, as inadequate lighting can obscure defects.
- Surface accessibility: Direct visual inspection is limited to surfaces that are visible and reachable.
Compared to other NDT methods, visual inspection lacks the depth of analysis provided by ultrasonic or radiographic techniques. However, its simplicity and affordability make it an essential first-line evaluation tool, complementing more advanced methods when necessary.
Conclusions
Visual inspection remains a cornerstone of non-destructive testing (NDT) and quality control due to its simplicity, cost-effectiveness, and accessibility. This article explored its key aspects, from stages and tools to lighting requirements and innovative applications.
The integration of artificial intelligence (AI) and deep learning is transforming visual inspection. AI-driven tools enhance defect detection speed and accuracy, while deep learning models enable detailed analysis of complex surfaces. Real-world applications, such as automated drone inspections in aerospace and precision checks in manufacturing, demonstrate the value of these technologies.
To enhance inspection reliability, industries should adopt AI-powered tools, ensure compliance with lux level standards, and embrace deep learning for anomaly detection. These innovations minimize human error, improve accuracy, and pave the way for predictive maintenance.
Looking ahead, real-time decision-making systems and augmented reality will further revolutionize visual inspection, ensuring adaptability to evolving industry demands. By investing in these advancements, industries can future proof their processes, achieving unparalleled safety, efficiency, and reliability.
References
Own source

