Introduction
Corrosion in the global Industry supposes an estimated cost of 2.5 billion dollars, which is equivalent to 3.4% of the world’s GDP, approximately. The main problem with corrosion is that it is unavoidable, its effects can only be minimized in the long term. Corrosion is defined as the natural process by which metals degrade and return to their original form, that is, they become minerals (oxides). This process is influenced by many factors such as temperature, humidity, solar radiation, contaminating particles, pH, etc. and others such as the homogeneity of the microstructure of the material, the presence of oxides and inclusions, cracks or surface defects, etc.
For all of the above, a large part of the budget of any company in the industrial sector is allocated to corrective maintenance due to corrosion problems, with the aim of preventing and minimizing, as far as possible, the harmful effects of corrosion and lengthening the useful life. of structures and equipment.
Inspection equipment is currently being developed based on new technologies in the detection of faults and corrosion damage. There are solutions to monitor the trend of measurements in loss of thickness, growth of cracks due to corrosion or change in the chemical properties of the material, being able to act quickly and efficiently, reducing reaction time and therefore minimizing maintenance costs.
In this context, the company Waygate Technologies through its commercial representative the Testek Group , leaders in the manufacture and marketing of equipment and consumable materials for the maintenance and repair of industrial equipment and facilities. world leaders in Non-Destructive Testing (NDT) solutions for industrial inspection, presents the Mentor UT Phased Array Flaw Detector (Figure 1).
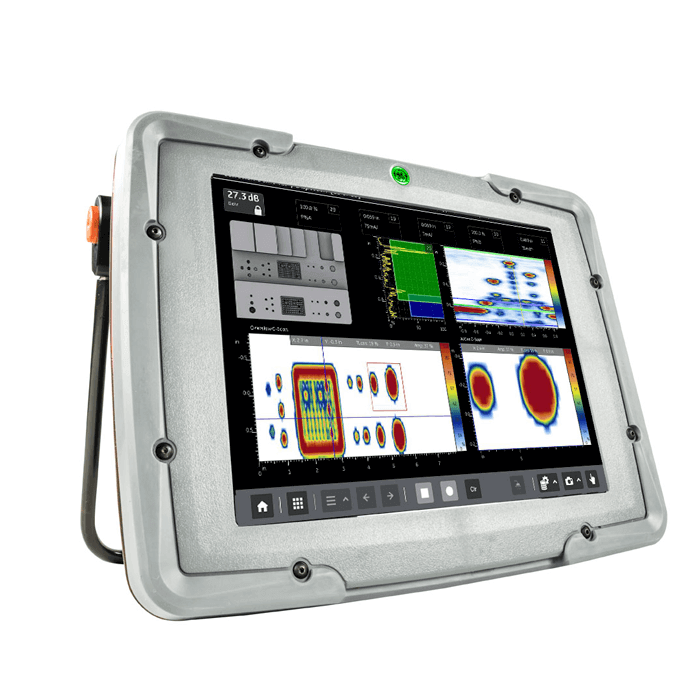
Mentor UT Phased Array Flaw Detector
The MENTOR series comes from the term Mentor which means Teacher or Guide. General Electric used this term to give a new focus to its ultrasound, Remote Visual Inspection (RVI) and eddy current equipment, taking inspection to another level, to the evolution of inspection, making it possible for any non-skilled inspector to carry out inspections being guided by the team, (Fgure 2, Video courtesy of: https://www.youtube.com/watch?v=07O1r1eziiI ).
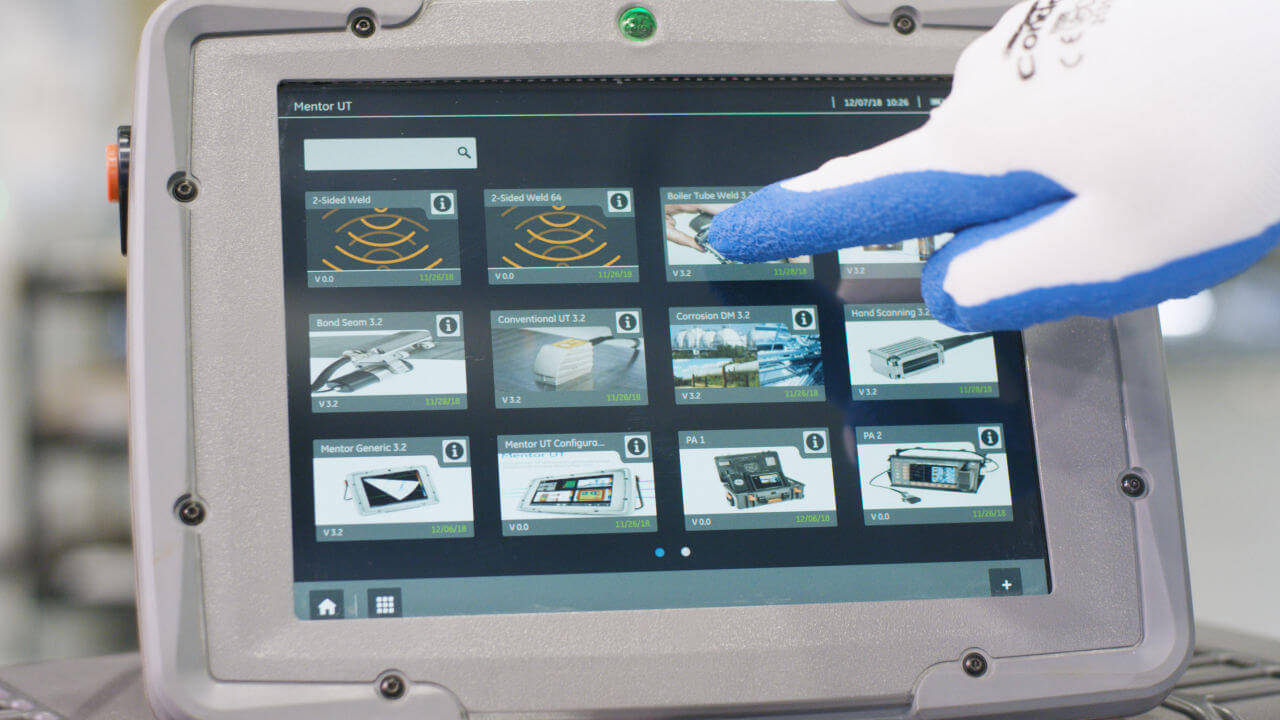
Figure 2. Video courtesy of You Tube.
Previously, in the area of ultrasound inspection was the Phasor team; in the area of RVI (Remote Visual Inspection) the XL Go and in induced currents the Phasec. The MENTOR series was subsequently launched by Baker Hughes General Electric Company in late 2015 with its first MENTOR iQ unit from RVI, followed by the MENTOR EM for eddy currents. In 2016 Baker Hughes made a third release in the series, the MENTOR UT, for the ultrasound area.
The new generation of PAUT (Phased Array Ultrasonic Testing ) inspections has arrived with the Mentor UT multi-element ultrasonic flaw detector. This device allows for more precise and intuitive inspections.
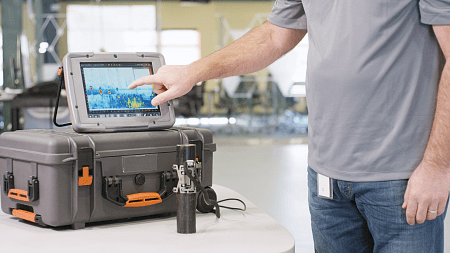
The entire UT flaw detector system is housed in a glove-friendly, touchscreen tablet that is as easy to use as a smartphone (Figure 3). The preloaded Mentor Create software is fully customizable and allows you to create user-defined menus and workflows (apps) to guide operators step-by-step through the inspection process, from calibration to probe location and analysis.
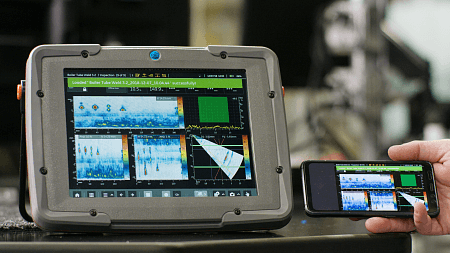
The Mentor UT is the first ultrasonic testing device to offer hassle-free wireless connectivity and live streaming, so inspectors can get real-time second opinions when they need them. That same wireless cloud connectivity allows the Mentor UT to remotely generate comprehensive inspection reports on users’ computers with the push of a button.
User-defined menus can guide technicians through every step of any inspection, from probe selection and calibration to report generation, ensuring consistency across inspections from all inspectors, every time. Plus, with the flexibility to load multiple workflows on a single device, you can ensure easy access to the right apps for any inspection at any time. A process that used to be time-consuming and complicated has now been made simple with the most comprehensive end-to-end UT solution available on the market today.
UT Mentor Features
1. High performance design to improve efficiency.
It has been designed with the needs of users in mind. Its intuitive, glove-friendly touch screen and an IP65 durability rating allow for more accurate and efficient inspections in all industrial conditions.
2. Smarter and more reliable comprehensive inspections.
UT inspections are performed consistently every time by customizing workflows (apps) to guide users step-by-step through the calibration and inspection process. Built-in wireless connectivity and data export capabilities simplify analysis and reporting at the touch of a button (offline analysis software included).
Live support allows inspectors to make maintenance decisions on the go, anytime, anywhere.
3. Exceptional versatility.
The Mentor UT also offers exceptional stylus versatility, featuring common Tyco or Ipex stylus connection options or a standard Phasor style connector for improved stylus compatibility. The device also pairs easily with Waygate Technologies’ innovative two-element linear DM probes for corrosion inspection, linear array probes for weld testing and composite inspection, and a wide variety of commercially available scanners. .
Monitoring and detection of corrosion by Ultrasound Phased Array
Regularly scheduled inspections can validate corrosion rates and allow for better maintenance planning. Ultrasonic thickness (UT) readings may not provide sufficient accuracy, collecting manual thickness readings to adequately determine corrosion wall thickness losses. Pitting cannot be reliably detected by conventional UT methods simply because the size of the defect is small compared to the area inspected.
Phased Array Ultrasound Techniques (PAUT) can be used to address precision needs and get great coverage quickly.
Mentor UT applications in the detection of some types of corrosion
Generally this device is applied in the detection and monitoring of the following corrosion faults.
- Uniform Corrosion: Predictable.
When a given fluid is passing through a pipe, tube, tank, vessel, or machinery at certain conditions of temperatures and pressures, general corrosion is expected and predictable. Materials in this category are typically under a comprehensive maintenance and inspection program.
- Localized corrosion: Unpredictable, but expected.
Certain conditions can give rise to localized corrosion environments, such as:
-Corrosion Under Insulation (CUI). In the process of transforming raw materials into products, temperature is often an important control requirement, which means that pipes or vessels are insulated. In many cases, the insulation can be damaged or degraded. It’s not always easy to recognize areas of concern, and it’s expensive to remove insulation.
-Flow Accelerated Corrosion (FAC) has known locations of probability (a pipe elbow, a valve), but there is a low probability of knowing which elbows have had FAC.
- Abrasion corrosion: Unpredictable
An example of unpredictable corrosion would be crude oil production. If a well collects a lot of sand or other abrasive material, it can cause fast-acting corrosion.
Typical cases of corrosion problems and recommended inspection technology.
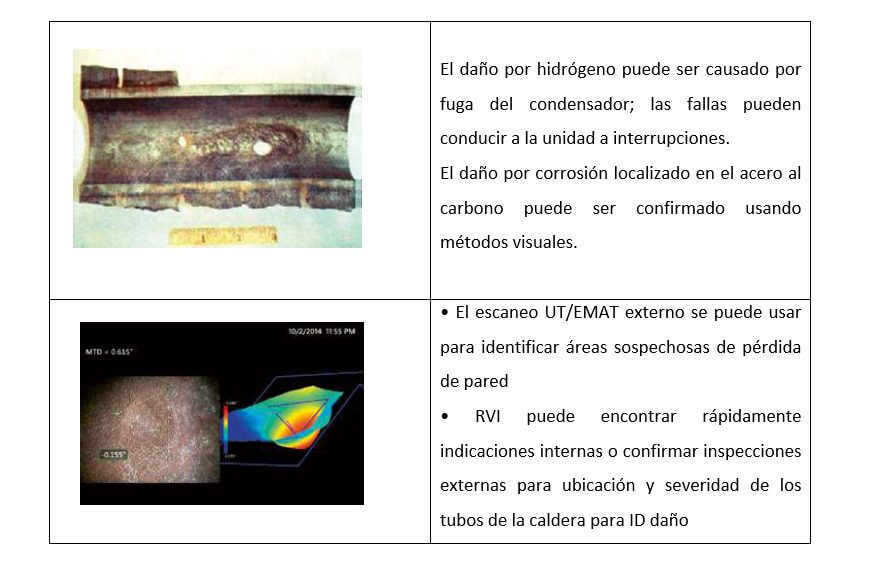
1.- Hydrogen damage in the boiler tube.
Inspection Technology: Remote Visual Inspection (RVI) / Ultrasonic Test (UT).
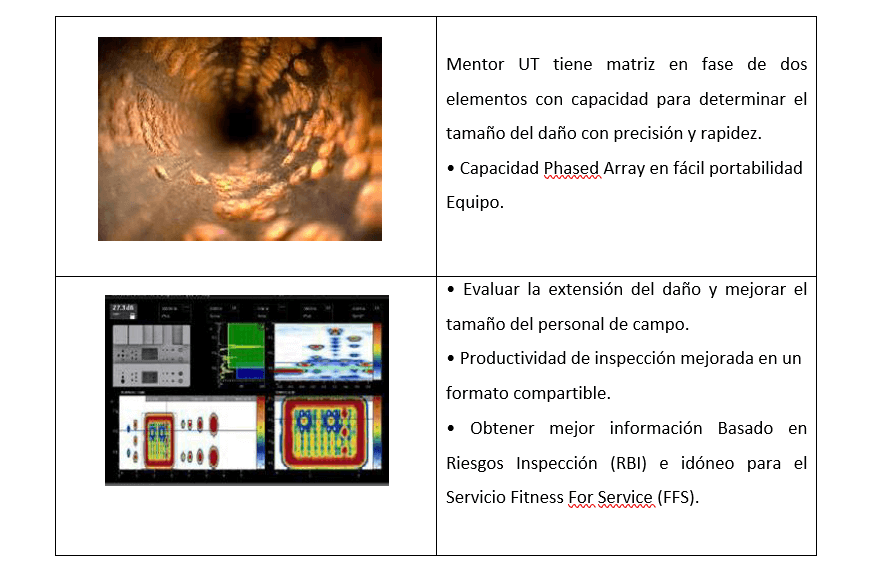
2.- Dimensioning and mapping of corrosion damage.
Inspection technology: PAUT (Phased Array Ultrasonic Testing).
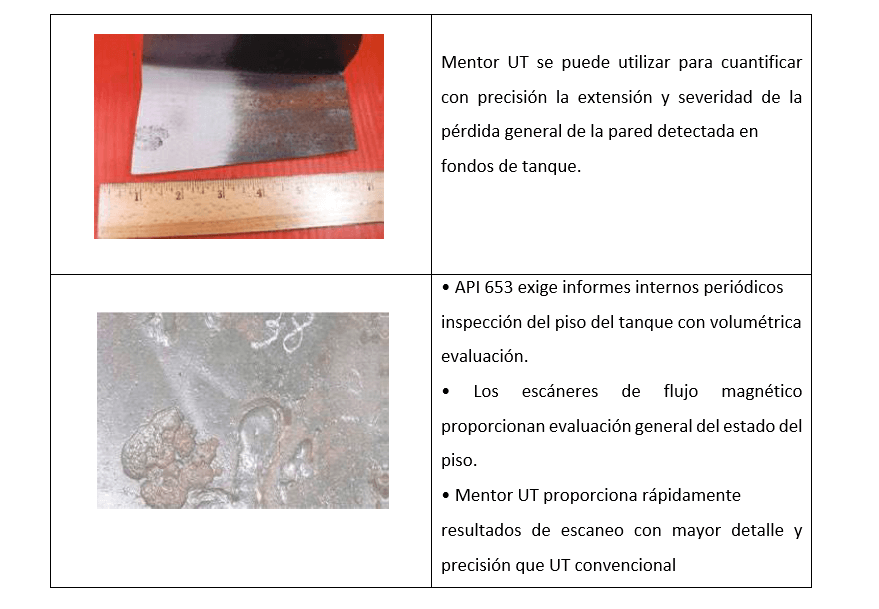
3.- Pitting at the bottom of the tank.
Inspection technology: Ultrasonic Testing (UT).
Profits
GE’s InspectionWorks Connect platform provides real-time access to inspections from anywhere, anywhere in the world. Experts can see a live inspection happening around the world, enabling smarter, faster decisions. Expertise delivered where it’s needed, when it’s needed to keep assets running and maximize efficiency.
- Improve productivity.
Live video and two-way chat and annotation features, remote experts can see what the inspector sees and communicate instantly, fixing issues on the spot, without the inspector ever leaving the inspection site.
- Increased asset uptime.
By providing global expertise virtually, InspectionWorks Connect enables inspectors and experts to make quick decisions on critical assets in real time. It all adds up to a better way to extend asset uptime.
- Control Operating Costs.
Used as a virtual training tool, InspectionWorks Connect helps reduce your operating costs by accelerating learning on the job. With instant access to remote experts and trainers, InspectionWorks Connect allows you to extend the reach of your inspection experts around the world by dramatically reducing travel costs and minimizing resource constraints.
Conclusion
The costs of corrosion can be staggering, but by improving inspection technologies and maintenance programs, equipment manufacturers and suppliers are helping organizations control costs and preserve industrial assets.
Bibliographic references

