The oil and gas industry experienced some significant challenges in 2020. With the sudden reduction in fuel consumption, there was a substantial global surplus of crude oil. This situation caused storage facilities to reach maximum capacity and even tanker trucks to store unwanted products.
In this context, the abandoned storage facilities are currently being restored to put them back into service, operationally the construction of new tanks is being considered to increase capacity to higher volumes, all of which translates into expanding the number of inspections of tanks in service to assess critical components within the asset.
This part of the article will continue with the review of NDT techniques that can be applied to tanks put back into service.
Content
Tank shell plates
Traditionally, an inspection technician would perform three ultrasonic thickness measurements per shell layer, this work is typically done using ropes, scaffolding, or a mobile elevating work platform to access predetermined locations. This technique can lead to misleading results due to the low Probability of Detection (PoD). Also, providing access for manual inspection is extremely costly and not productive.
Currently new technology for modern tank shell inspection uses automated robotic crawlers. These, remotely controlled (Fig.1) climb up the tank shell collecting thousands of UT thickness measurements, or a more advanced PAUT system collects corrosion map data. This modern technique has many advantages such as higher PoD, increased operator safety, lower costs and auditable recorded inspections.
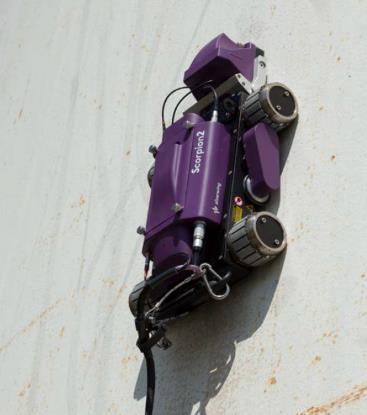
Fig. 1 The remote-controlled CRAWLER, to inspect walls and roof tanks.
Tank roof plates
Like the other components of storage tanks, roof plates should be inspected for corrosion and warping, and cracks at weld joints. Inspection standards state that walking on tank roofs can be dangerous.
The condition and thickness of the ceiling tiles must be confirmed before allowing access. Automated remote access UT scanners (Fig. 2) can be used to determine plate status without any human access.

tank welds
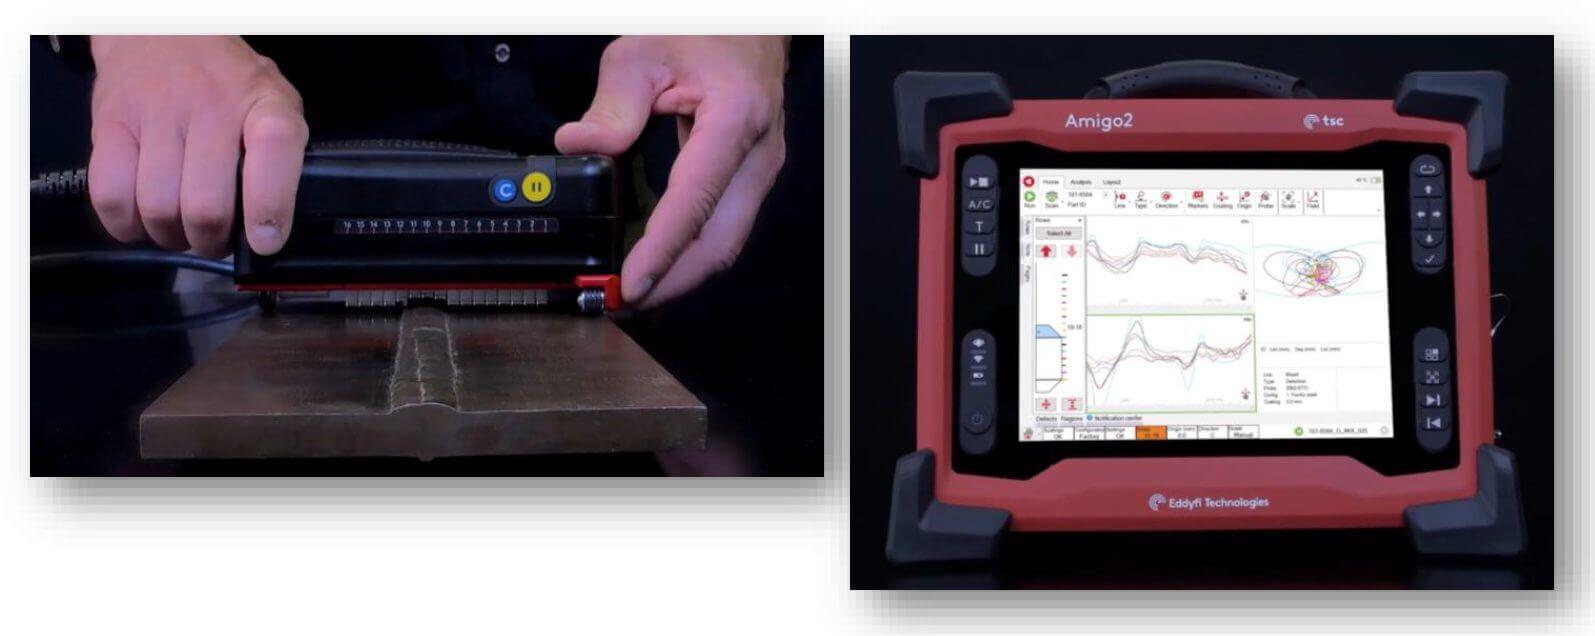
The traditional technology for inspecting welds for defects is magnetic particle inspection/magnetic testing (MPI/MT). Inspection authorities now recognize alternating current field measurement (ACFM) (Fig. 3) and eddy current matrix (ECA) as an alternative method to MPI/MT. These modern techniques do not require the removal of any coating and can accurately detect and size a weld crack faster and more cost effectively than MPI and without the need for consumable chemicals.
tank piping
Pipelines connected to a storage tank have several important functions in daily operation, such as product import/export, water drainage, and vapor recovery systems. This pipe can be low, high, or even buried underground. Selection of the correct NDT inspection technique is critical to the overall integrity of the storage tank system. Several cases of tank piping inspection by different techniques are presented below:
i) Inspection of pipes by Guided Waves
Inspection by means of guided waves is a tool to know the general condition of the pipeline, identifying its critical points for the development of predictive maintenance plans (Fig. 4). It allows to inspect up to 80 meters in a linear direction without changes of direction inside an aerial pipe without coating (only paint) and detect defects up to 4% of the total cross section of the pipe.
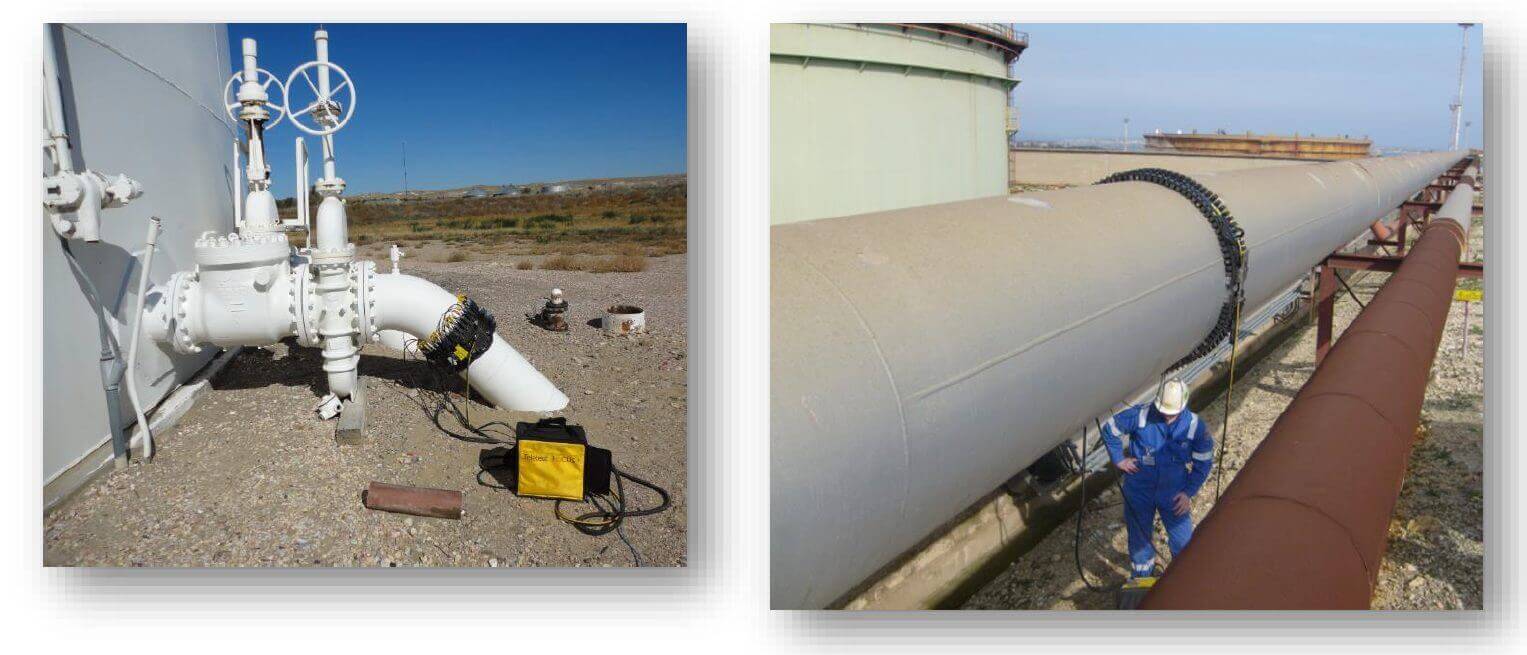
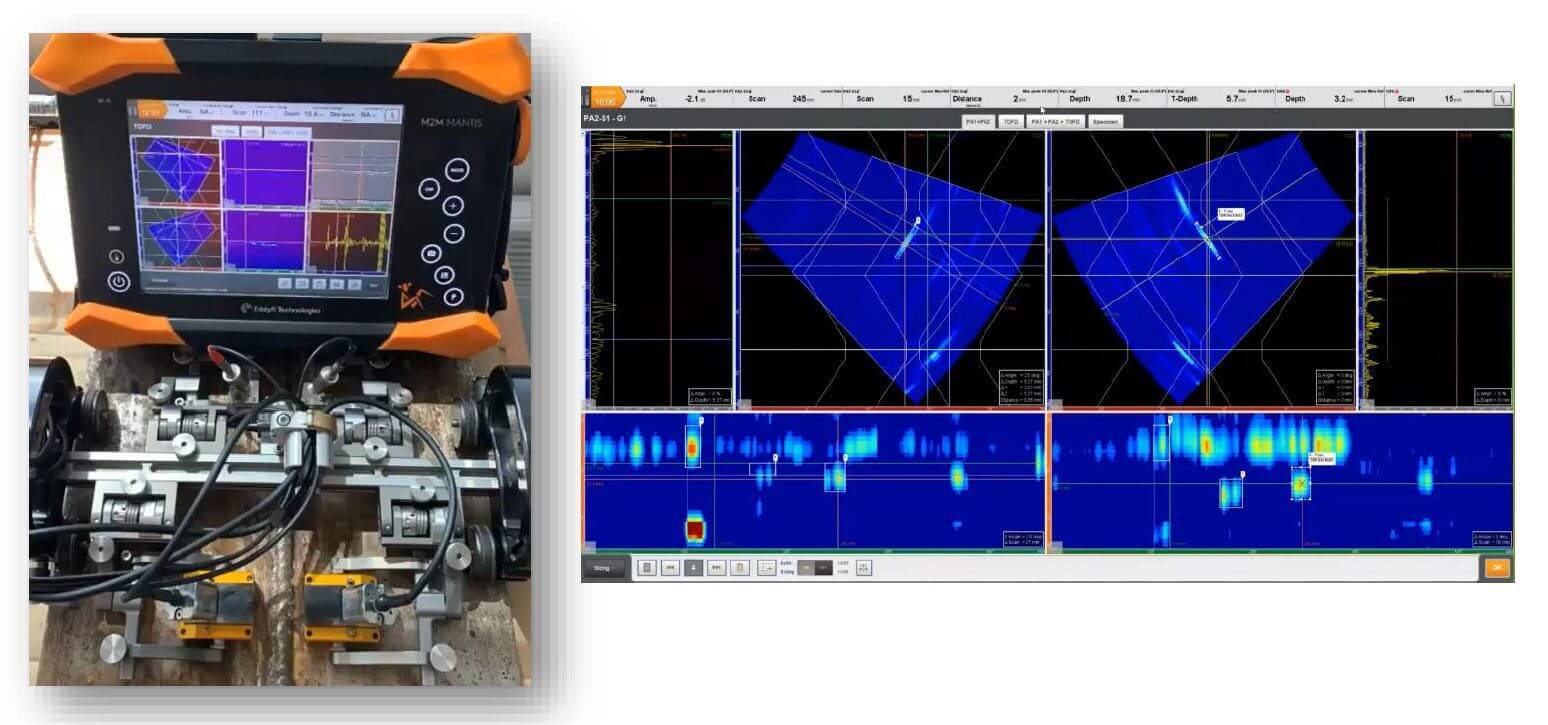
ii) Weld inspection and corrosion mapping on a pipeline: PAUT system with PA and TOFD transducers with a magnetic scanner, on the right hand side, a typical layout shown S, C and A-Scan, (Fig.5).
iii) Corrosion Under Insulation (CUI) affects the insulation pipe and ball legs. The PEC and PECA techniques (Fig. 6) are the most effective tools to inspect both applications.
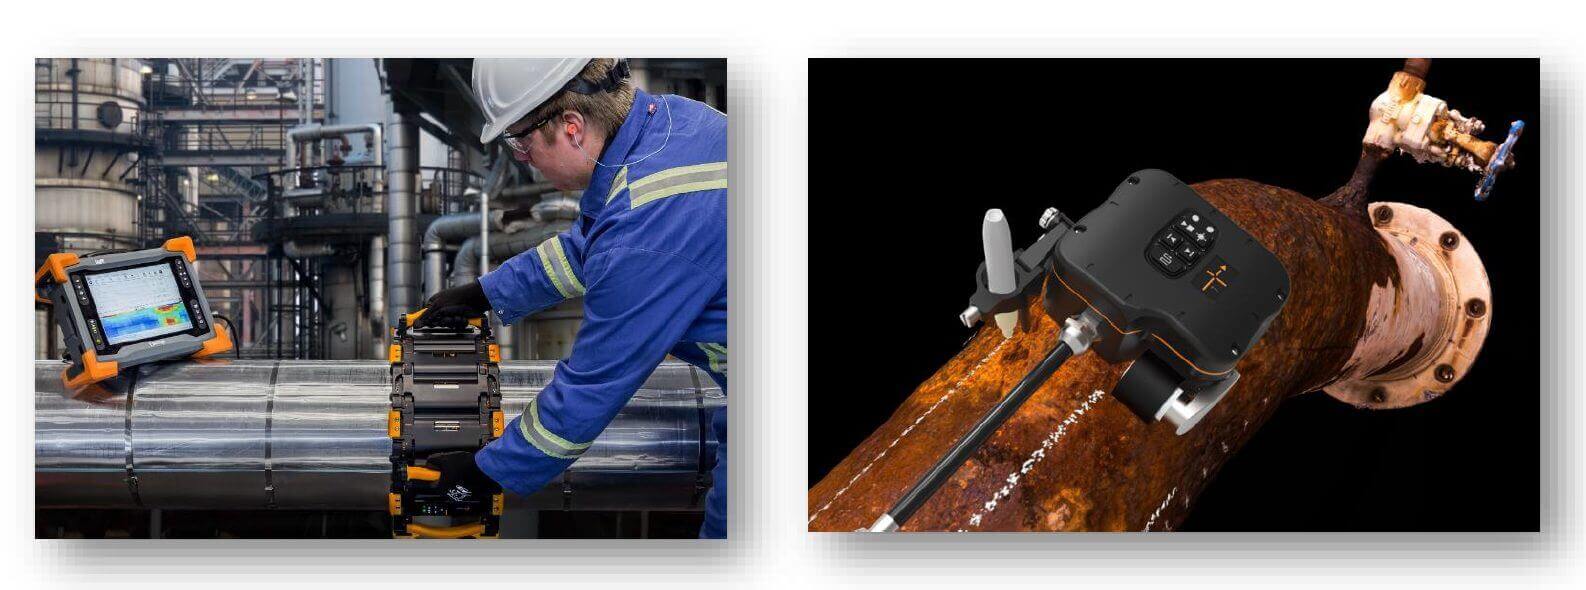
Fig.6 Pulsed Eddy Current (PEC) and Pulsed Eddy Current Array (PECA).
Learn more about NDT for STORAGE TANK inspection by clicking here. You will find more details about the complete set of NDT techniques.
Bibliographic references
Own source

